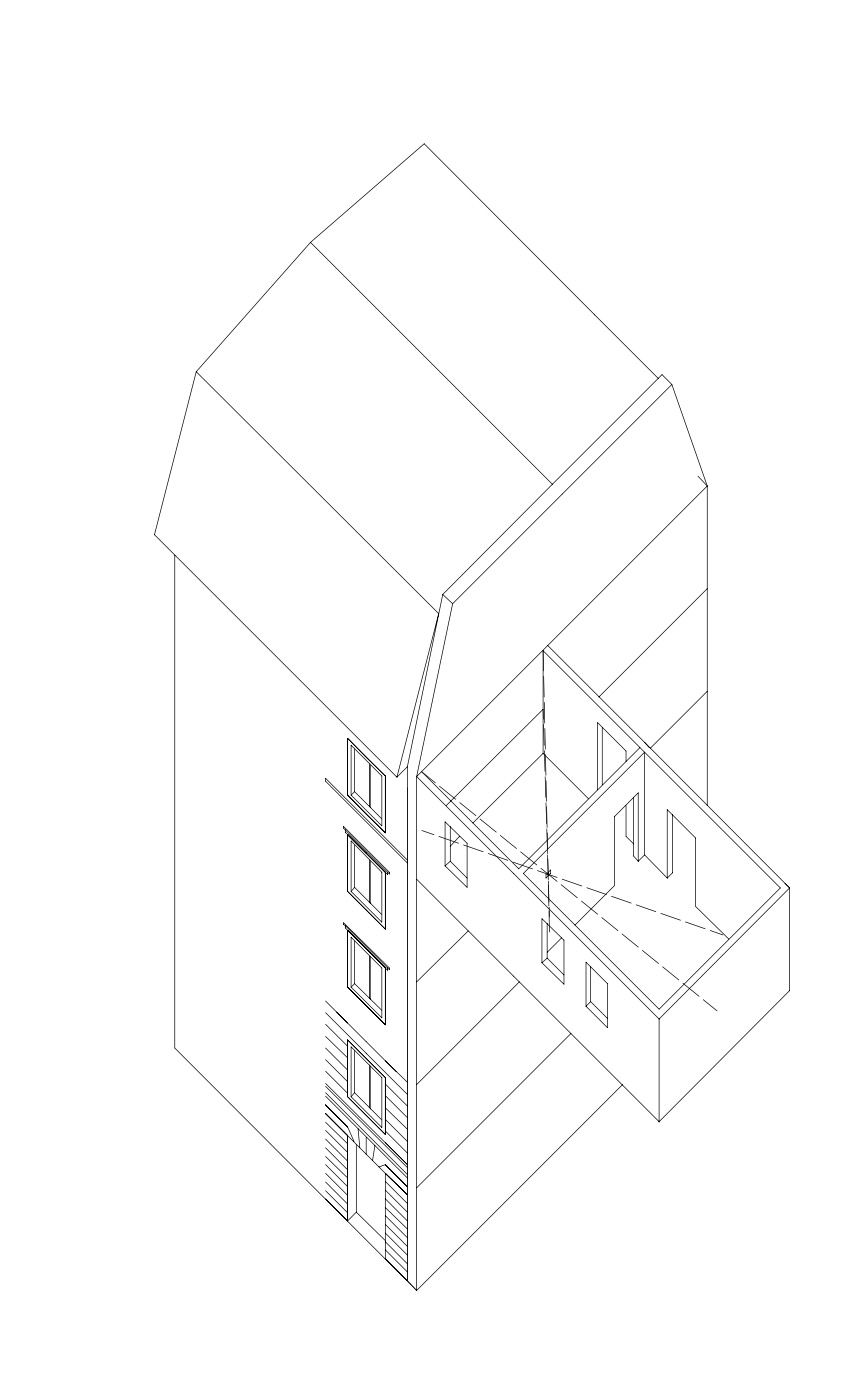
1. Find a suitable house, it must not be detached, a firewall must exist. Access must be guaranteed, at least for a whole day, if possible two.
2. Find friends who can help transport the material and set up the camera.
3. Find a suitable place for the opening, which creates a good image detail, and create the opening with a hammer and chisel.
4. Darken the room, the more light proof the better. Create a light lock to be able to go out of the room. The process takes a few hours and ventilation of the room is an advantage.
5. Apply the emulsion with a spray gun and wear respiratory protection. Let the emulsion dry for a few hours.
6. The image can be exposed. Use a cotton swab and developer to test small dots to see if the image has been exposed long enough. If so, develop, water and fix the whole image. Make sure to collect the chemistry.
7. The image is fixed, the covers can be removed.
8. Don't forget to document the work and thank the people involved.
